
News
How to fit kitchen base cabinets
Author Chigwell Building & Joinery
Date 08/02/2018
Fit kitchen floor units yourself and get great results every time
Preparation
Before you begin, make sure that your floor is even, level and free of dirt, dust and debris. Any material left could mean your kitchen base units do not sit firmly on the floor. Any movement will result in poor finishes and difficultly fitting the countertop correctly.
Most modern kitchen cabinets come with adjustable legs as standard, so if your floor is uneven, you will need to use a spirit level and the adjustable legs to make your units perfectly level. Some kitchen cabinets are built using timber plywood frames without legs. If that is the case, you may need to use shims to prop up appropriate corners of your units to make them level on uneven floors.
Also before proceeding, you may need to check your walls in and around your planned fixing points for internal wall pipes and electrical wires. An electrical cable tracer will find sources of power behind walls. If you are unsure, consult a local professional first. Only proceed with this instructional blog until you are fully satisfied you are safe to do so.
Tools Required
As with any DIY project, you will need the appropriate tools to get the best finish possible, For this task, you will need:
- spirit level
- spirit level
- cable and pipe detectors
- electric drill and drill bits
- jigsaw or handsaw
- circular saw
- 2 x G-clamps
- electric screwdriver or Phillips screwdriver
- tape measure
- pencil
Marking Up
Assuming your kitchen cabinets are fully assembled, and you have all the brackets and feet for each unit, you are ready to get started.
Firstly, you need to mark on the wall exactly where your cabinets will go. It is advised to start the process in one corner and work you way out.
In general, your floor units will sit around 870mm from the floor. With a tape measure, make a mark at 870mm from the floor and using a spirit level, draw a perfectly level horizontal line at 870mm from the floor along the length of the wall where you intend to fit your units. Note that this mark represents the top of the units and does not factor in the additional depth of the countertop to be fitted at a later date.
Now check the height from the floor to your line to ensure the distance does not fall below the 870mm mark. As floors can invariably be uneven, you need to carry this out to ensure your floor units will fit and not sit above that line. If they do, you may need to erase and redraw the line from a point where the floor sits higher. Once the line is correctly marked, you can start to install the units.
Fitting the Units
Starting form a corner, place the unit into its intended position so the back edge is resting against the wall with the pencil mark visible. If pipework is present or skirting board sits above the line of the back of the unit, you will have to cut an access gap on both sides of the cabinet. Simply mark where the pipework or skirting boards pass with a pencil and then remove the unit to allow you to cut the marked area with a jigsaw or handsaw.
Once your cuts are done, place the unit back into position to check it sits above the protruding pipework or skirting board. If so, ensure the unit is level from side-to-side and front-to-back; adjust the feet to the correct height to match the pencil line on the wall and place a spirit level on the top of the unit and adjust until it sits perfectly level. This unit should be fully in place.
Now place the next cabinet into position alongside your first corner unit. Again, check the height is correct using your mark on the wall. Adjust the unit height with the legs and use a spirit level as before. Make sure the heights of the two units sit flush with each other and then clamp adjacent units together with two G-clamps to prevent movement. One at the top, and the other clamp at the bottom.
Attaching Cabinets
To attach the cabinets together and avoid exposed screw-heads, remove any existing hinge-plates from one of the adjacent units. Then drill pilot holes at the top and bottom through to the adjacent cabinet and screw together using the correctly supplied screws. Now reattach the hinge plates to conceal the screws you just used to attach the units together. Now you have two attached units and no exposed screw-heads!
Now you need to attach the units to the facing wall. To do this, attach two L-shaped brackets to the rear left and right top edges of each unit. Then mark where they will be screwed into the wall with a pencil. Temporarily move the units away from the wall to give you enough room to check there are no concealed electrical cables in the wall (with a cable tracer) and then drill pilot holes where you made your marks. Insert appropriate wall plugs or drywall anchors and then move the attached units back into position and screw to the wall through the L-shaped brackets.
Now double check that the attached units are still level and flush to the marked line on the wall. If so, you can move onto the next cabinet and repeat the above processes until all of your floor units are correctly into position and attached accordingly.
Finishing Panels
Once all of your units are in place, you may need to think about fitting side panels to any exposed end units.
Most end panels are supplied larger than your units so you will need to marry up the end panel to you side units and cut off any excess to ensure it fits correctly, removing any overhanging edges that protrudes from the front and the top. Make sure to cut off the end opposite the side that needs to show the panel’s edge banding. For the best cuts, use a circular saw or jigsaw with an appropriate blade to give you clean, splint-free finish.
Remember, you may need to cut the panel around skirting or pipework. To get a flush fit, use a piece of the skirting as a template to get a precise outline of the shape to cut with a jigsaw. Any crude cuts will easily be visible and will make your kitchen look inferior, so always try to make these cuts as accurate as possible. Small gaps however, can be filled with decorators caulk or sealant.
Once your end panel is cut to shape, clamp it to the cabinet, remove the hinge plates, drill pilot holes (making sure not to drill all the way through to the end panel) and screw together with the supplied screws. Replace the hinge plate and finally, remove the clamps.
If you have any other end panels to fit, simply follow the same instructions above. Once completed, your base cabinets should now be fully installed.
See It in Action
If you are still unsure how to follow these instructions, then watch the excellent video below created by Wickes for really helpful instructions on fitting kitchen base cabinets.
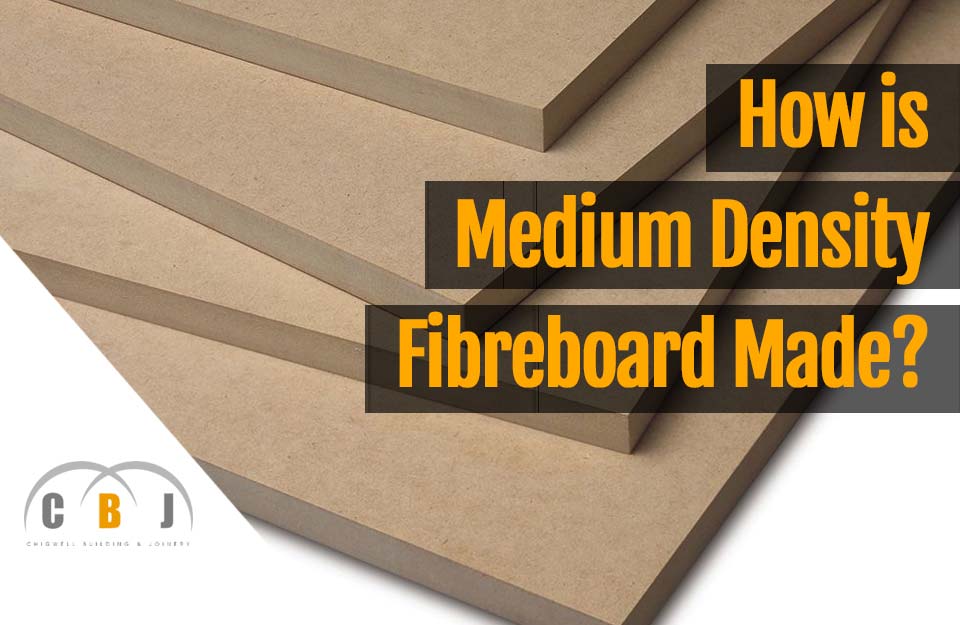
How is Medium Density Fibreboard Made?
Author Chigwell Building & Joinery
Date 11/01/2018
MDF Composition
Medium density fibreboard is one of a number of engineered woods, a composite product comprised of material glued together.
Popular composite products include plywood, block-board, particleboard, hardboard, laminated veneered timbers and MDF.
In most cases, these products are based on what are considered to be waste residues (excluding plywood), with only a small amount of material lost during manufacturing, making it an effective product at minimising unnecessary waste.
Lignocellulosic fibers are the core ingredient in MDF sheets which are bonded by synthetic resins under heat and intense pressure with additives added during the process to improve adhesion, strength and durability.
During manufacturing, the material is compressed to a density of 0.50 - 0.80 specific gravity (495-800 kg/m3), to produce a material that is smooth and flat.
Typically sawdust, chipping and shavings from timber products make up the bulk of medium density fibreboard.
However, with recent concerns over environmental and ecological issues coming to the fore, it is not uncommon to find recycled waste paper, cardboard, corn silk and even some plastics and metals being used to make the material.
MDF is said to have been first invented in the United States of America, with production taking place during the 1960's.
Typical Applications
As medium density fibreboard can be cut into all sorts of intricate shapes and sizes, it has become a very popular product in items such as furniture, doors, panelling, packaging, toys, games, cabinetry and flooring.
Seeing the product is incredibly smooth, flat and free from imperfections such as knots or grains most commonly found in laminated timbers i.e plywoods, finishes are always clean and consistent.
With a very uniform consistency throughout, cuts and edges can be intricate and precise when using machining tools so achieving intricate three-dimensional shapes is rarely a problem.
This is why MDF is often found in furniture pieces with veneered surfaces, as the material is very adaptable and strong, being able to hold precise tolerances and accurate cuts - something many other materials cannot ever get close to.
Cut wastage is also significantly reduced compared to other substrates.
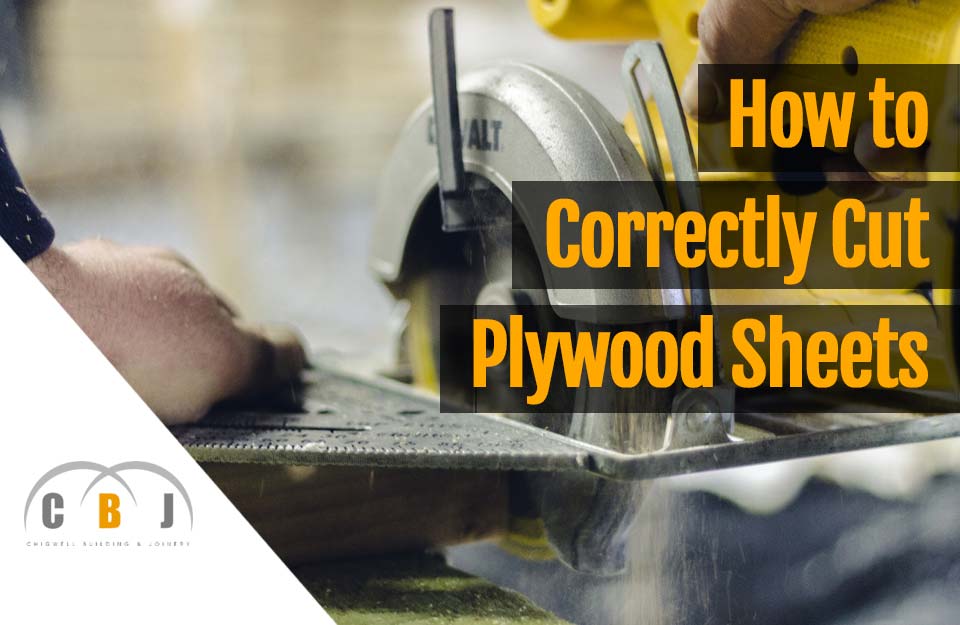
How to Correctly Cut Plywood Sheets
Author Chigwell Building & Joinery
Date 13/12/2017
Get Splint Free Results with Our Plywood Cutting Guide
Plywood is a very popular material that is commonly used on a number of DIY and construction projects due to its low cost, versatility and reliability.
This factory produced timber product does not warp, shrink or crack with changes in atmospheric temperatures or moisture, making it ideal for many application.
It’s not uncommon to find plywood being used in products such as furniture, cabinets and tables as well ad used in common construction processes including flooring substrates and materials, formwork for concrete, partitioning and external walls.
It’s even found in packaging such as shipping crates and boxes that require strength and durability.
However, if you intend to use plywood where it will be visible, getting clean cuts is vital to ensure you get a splint free finish and no rough edges.
Here’s how to achieve clean cuts using plywood.
Accurate Measuring
Firstly, it’s important to ensure you have accurate measurements marked out on to the plywood to get clean joints and precise edges.
When measuring, lay the plywood sheets on a level flat surface such as a floor or cutting table that will ensure the ply stays flat and does not bend.
Depending on the tools you intend to cut with will determine which side of the plywood to mark.
For example, if using a table saw you should mark the unfinished side.
Whilst if using a circular saw, jigsaw or handsaw, you should mark the finished side.
Now mark your measurements on the long edge of the ply using a pencil.
Then mark the same measurement on the other side of the ply.
Using a metal square to ensure an accurate 90º angle, draw a line joining the two marks you previously made using a ruler or straight edge as a guide.
Repeat this process if you need to make other cuts.
Using a Table Saw
If you’re fortunate enough to own a table saw, cutting plywood is a breeze.
Firstly, set the blade to be about 12-13mm higher than the thickness of the plywood sheets you want to cut.
Now before you start, make sure the surface of the table saw is completely clean of debris as this may cause bad cuts if the board moves or is misaligned during cutting.
As you cut the plywood, you will produce a lot of sawdust.
Although relatively harmless, always wear a suitable mask over your mouth and eyes to protect you from breathing in fine sawdust particles or getting them into your eyes.
When you’re ready to cut, switch on your table saw and feed the plywood gradually towards the blade in one smooth motion and continue until the entire board has been cut.
If the sheet is large, have someone help take the other end to ensure the ply moves smoothly and does not bend.
This should give you nice clean edges and little to no splintering.
Using a Jigsaw or Circular Saw
Before cutting the plywood, you’ll need to place it onto a suitable sawhorse or surface that will ensure the plywood stays flat, does not move and allows the blade to pass unobstructed from one edge to the other.
You will also benefit from either clamping the sheet into place to prevent movement or having an extra pair of hands if the plywood sheet is large, as bending and distorting will cause splinters and inaccurate cuts.
When you’re ready to cut, line up the edge of the saw blade against the marking on the plywood and switch on the tool.
If possible, start cutting alone the pencil marking and continue in one fluid motion until the entire sheet is cut with an assistant holding the ply to ensure it stays flat and does not move.
If the sheet is too big to cut in one go, switch off the jigsaw or circular saw only when you have come to a complete stop and wait for the blade to stop oscillating or spinning completely before removing.
Now take the saw to the opposite end of the mark, begin cutting and continue until you reach the previous cut to finish cutting the whole sheet.
It is important at this stage that help is at hand to hold the sheets and prevent them from dropping or falling once you have two cut pieces.
Any movement will splinter wood and ruin the finish.
Using a Handsaw
If you do not have any electric tools, you can use a handsaw to cut plywood although it requires skill and strength.
The best finishes are always achieved if the cuts is completed in one motion.
Although this requires a lot of energy and effort, this will achieve a better finish and less splintering. Only stop is you really have to.
Just like using a jigsaw or circular saw, you will need assistance to ensure the plywood is held firmly and does not move during cutting.
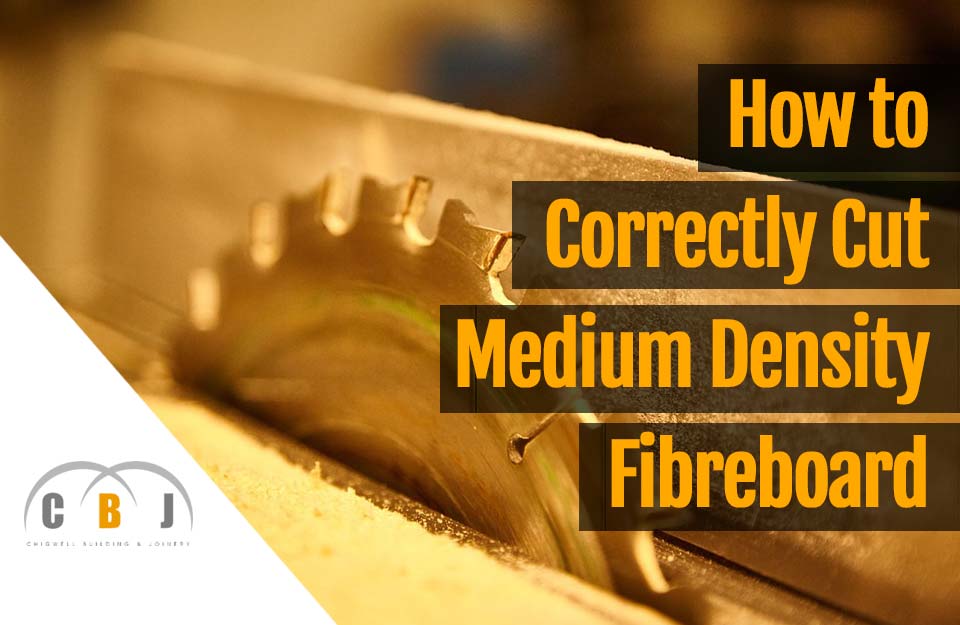
How to Correctly Cut Medium Density Fibreboard
Author Chigwell Building & Joinery
Date 13/11/2017
Get the Best Results with Our MDF Cutting Guide
MDF is a hugely popular material in the building industry due to it’s versatility and relatively low cost.
Usually found in the construction of furniture pieces, shelving and cabinet carcasses, this man-made substance is relatively easy to cut and machine cleanly if you know how, using the correct tools for the job.
As it is essentially made from compressed recycled wood dust particles combined with resins, there’s no actual wood grain to be concerned about during cutting.
However, even though it is a relatively tough material as whole, it can chip and break quite easily if the wrong cutting tools or blades are used as edges are brittle and at times, easily broken.
So if you plan to carry out a relatively big project that relies on a lot of MDF sheets, here’s our guide to cutting this popular material correctly.
Using a Table Saw
Firstly, ensure you are using a laminate blade when using a table saw and set the blade to be about 12-13mm higher than the thickness of the MDF sheets you intend to cut.
Make sure the surface of the table saw is completely clean before attempting any cuts as any debris present may cause a bad cut if the board moves or is misaligned.
As you cut the MDF sheet with a table saw, you will undoubtedly produce a lot of dust particles.
MDF is know to contain unpleasant chemicals including urea formaldehyde which is regarded as a probable human carcinogen so before you start cutting, always place a suitable mask over your mouth and eye protection to prevent dust getting into your eyes.
When ready to cut, turn on your table saw and feed the MDF slowly towards the blade in one fluid motion and continue until the entire board has been cut.
This should give you suitably clean edges and the best possible finish.
Using a Router
To get a good cut with a router, use a carbide flute bit.
Do bare I mind however, when using a router that you should aim to cut the MDF fractionally larger than you need it to be.
Then use the router to further trim to edges down to the correct size.
To get the final straight edge, use a router table or jog for a perfect finish.
Using a Jigsaw or Circular Saw
Both of these saws can be used to cut MDF however, the surface of the medium density fibreboard must be scored prior to cutting if laminated.
Firstly, put the MDF onto a steady work surface or saw horse and clamp into place to prevent movement.
Now, mark out your cut lines using a straight edge and a piece of chalk or pencil.
Once you have a line drawn, take a utility or Stanley knife and run the knife along the cut line using minimal pressure at a steady to slow speed.
Do this until you successfully cut through the laminated surface.
Now use a carbide blade with a TPI of at least 20 and cut the MDF with the laminae surface showing upwards and go nice and slowly and steadily until you have completely cut the entire sheet.

The Do’s & Don’ts of Using MDF
Author Chigwell Building & Joinery
Date 04/10/2017
Get to Know This Highly Versatile Product
MDF is a superb building product because it’s relatively inexpensive, is a great choice for woodworking, is fairly adaptable and can be used for a variety of applications. But getting the best results from MDF is down to understanding the product and avoiding common mistakes. In this article we’ll take you through a number of classic do’s and don’ts when it comes to using medium density fibreboard.
What is MDF?
MDF (Medium Density Fibreboard) is a man-made product consisting of fine wood particles compressed together under intense pressure combined with resins and heat. To many unsuspecting individuals, MDF is most likely to be in every modern home in some way or another without them knowing. It is very commonly found in kitchen units, cabinets, shelves, furniture and many other everyday items yet is rarely seen in its raw form as it tends to be covered with a more attractive laminate or wood veneer.
As mentioned above, it’s very versatile but it does have it’s weaknesses as well as it’s strengths and is not suitable for all applications. Use it right and you can get amazing results. Use it or abuse it incorrectly and it will let you down.
Do Use It To Save Costs
The best and most obvious advantage to using MDF is the price. Compared to plywood or other solid wood sheets, MDF is a far better economic option. If you need to cover large areas with a paintable flat surface such as wall panelling or an inbuilt shelving system or media centre for example, you can mix and match materials. Use MDF where a solid flat surface is needed and then use timber for edging and stiffening. Once the whole thing is painted, you’ll never see the difference between where the MDF starts or where the wood trims begin.
If you plan to make something that requires a large amount of flat wood panels, save yourself a few pennies by substituting plywood or particleboard for MDF, which is just a good and will give a great finish.
Don’t Cut It Without a Mask
Cutting and milling MDF produces a lot of dust and fine particles which contains high levels of urea-formaldehyde due to the adhesive resins contained within the material. Wearing a mask is highly advised as the dust particles produced contain formaldehyde which is a know carcinogen.
If possible, always cut MDF in a well ventilated area and wear suitable masks to cover both your nose and mouth, as well as your eyes. The fine powdery dust produced from cutting MDF is very unpleasant and can cause asthma and other respiratory issues if inhaled. Get it in to your eyes and it can be very uncomfortable and itchy.
As well as protecting yourself, make sure you cover all necessary areas of your home from dust particles. MDF dust is very light and fine, so travels easily. Any cutting indoors will swiftly lead to dust spreading and settling throughout your home.
Do Drill Pilot Holes
It is not recommended that you use an electric screwdriver or impact driver with MDF without drilling a pilot hole and countersinking drill bit first, as any intense pressure or force will make it crumble and deteriorate. MDF appears as a solid, firm material on the surface but its compound is actually quite soft and flaky. It doesn’t take a great deal of pressure to cause it to split or break up, and when it does there’s no going back.
So avoid using nails and a hammer as any mishaps will most likely cause the surface to split and break up. And most certainly do not drop it as any heavy impact will destroy exposed edges.
Don’t Lift Large Sheets Alone
MDF might be an innocent looking material but it is deceptively heavy and a full sized sheet can weigh up to 100 lbs. Lugging one of those around can easily cause sprains, aches and pains so if you have an extra pair of hands, get help lifting them otherwise, opt for smaller manageable sheets to avoid injury.
Do Use a Primer
MDF is a superb material for painting but to get the very best results, always use a suitable primer first. The tops tend to always be nice and smooth but cut edges can look a little rough however if you prime it, then sand it and then prime it again, those rough edges can be made to look far better.
Then once fully primed, you are ready to paint it any colour you wish and you should get a far better, more even looking finish. The primer will act as a bond so that you get a consistent colour finish every time you paint.
Don’t Use It Outside
Never ever use MDF on projects that are intended to stay outdoors - it is simply not designed to be used in any wet weather. Even with priming and lots of waterproof painting, MDF will eventually lose the battle of the elements and deteriorate fast. Any water that gets near it will be absorbed like a sponge, leading to the MDF material swelling and eventually breaking up.
There are moisture resistant versions of MDF available on the market but overall, any project that requires a high level of water resistance should really be using a suitably treated timber or alternative product that is proven to deal with water far better.

