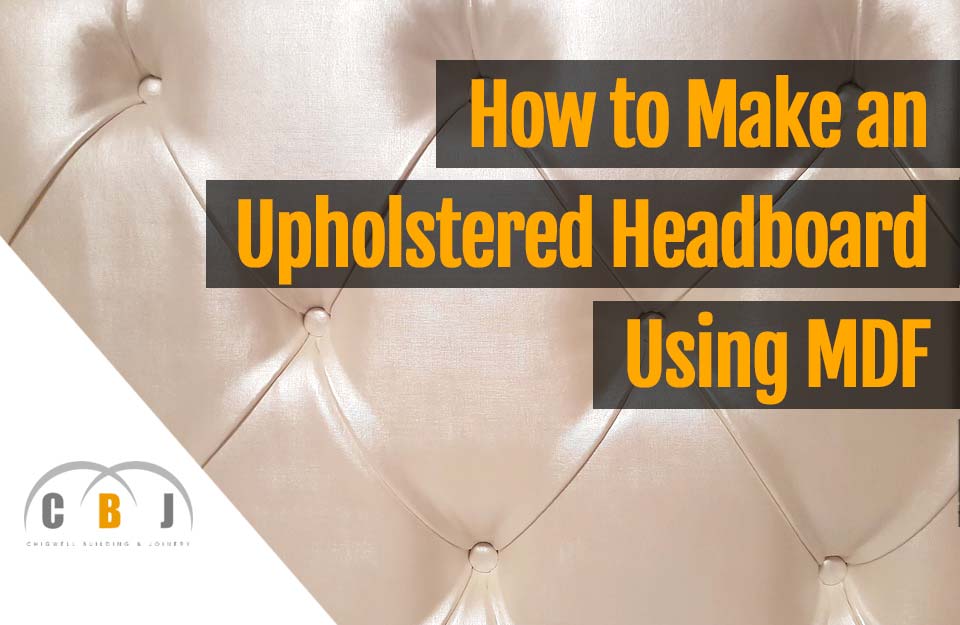
How to Make an Upholstered Headboard using MDF
Author Chigwell Building & Joinery
Date 08/05/19
An upholstered headboard is simply ideal if you want a more aesthetically pleasing bed, which is also more comfortable and useable.
If you like sitting up in bed to read at night, you'd much rather have an upholstered headboard to lean against, instead of a hard frame or a bare wall.
If your bed does not have such a headboard, you can make one yourself quite easily.
In this article, we're going to explain how easy it is to make your own upholstered headboard with just a few materials and basic tools.
Read on to find out more or use the links below to jump to the chapter that interests you:
Chapters
- Materials Required
- Tools Required
- Cutting the Headboard Shape
- Cutting the Padded Foam
- Adding Upholstery
- Attaching Buttons
- Wall Mounting
- Finishing Up
1. Materials Required
In order to make a headboard, the most practical option is to use a sheet of plywood or MDF.
It is recommended that the thickness of the MDF or plywood sheet is at least 12.5mm (half an inch).
Either material is sturdy enough for the job, but not too thick to make cutting or shaping too troublesome.
Naturally, the width and height of the headboard will depend on the size of your bed.
A good quality foam will be needed, and it is important to have enough to cover all the surface are of the headboard with some wastage.
Padded foam that is 50mm (2 inches) thick is the best option.
This type of foam generally comes in sheets that are 600mm (24 inches) wide, so you'd typically need two sheets to cover an entire headboard.
Next, suitable fabric plus two or three layers of quilt batting will be needed to cover the headboard, as well as have some overlaps on each side so as to wrap it comfortably to the back of the panel.
When it comes to the fabric you use, make sure it's a material that's not susceptible to creasing.
It's always best to iron it well before attaching it to the headboard.
Many people like to use buttons to decorate an upholstered headboard to give it a classic finish.
In this instance, prong buttons are ideal.
2. Tools Required
There is no need to have a lot of tools to complete this project, so even a basic DIYer should be able to do a good job of making a headboard.
The most important tools and equipment to have available are:
- a jigsaw to cut more easily and effortlessly
- a sharpie or a marking instrument
- a large ruler or a yardstick
- drapery cord
- buttons (optional)
- wood glue
- adhesive spray
- a staple gun and staples
- a flexible ruler or a template (to outline the headboard shape)
- cleat hanger
- screws
- electric drill
Also, if the headboard is going to be mounted to the wall wall, cleats will be required.
3. Cutting the Headboard Shape
If the shape of the headboard is going to be rectangular, then all that's required is a pencil and a long ruler to draw a guiding line around the MDF sheet.
To ensure your lines are exactly 90º to the board, use a square to mark your edge lines.
Then with the jigsaw fitted with a fine toothed blade, it's fairly easy to cut along the marked line to create the final headboard shape.
If you have a more elaborate design in mind, it's best to prepare this on a template first using some firm cardboard or a sheet of hardboard.
This will make it much easier to create the shape and cut more precisely.
If you want to create an arch style headboard for example, it's best to use a compass to accurately draw the top circular edge.
Then trace the templated shape onto the board with a pencil and cut as necessary.
4. Cutting the Padded Foam
The next step is to cut the padded foam.
Roll out the foam onto a clean floor or a solid flat worktop, and then place the cut-out headboard on top of it.
Trace along the edges of the template using your marker pen or sharpie so that you have an exact shape drawn out.
Once you have a completed shape marked out, start cutting the foam along the line.
Once the foam shape it cut, spray adhesive onto both one surface of the foam and onto one surface of the solid MDF or plywood headboard sheet.
Then carefully stick and press down the foam directly onto the headboard sheet, making sure all edges line up accurately and neatly.

5. Adding Upholstery
The next step is to add the quilted batting layers over the foam.
Cover the foam side up with a couple of layers of stretched quilt batting, making sure to smooth out any wrinkles as you go.
If any persistent wrinkles appear, trying steaming them out with a steamer or an iron but do not let the iron touch the surface or burn the material.
Once in place using the staple gun, attach to the headboard along the edge at the back with staples, all the time making sure that it is pulled taut as much as possible.
After you've completed stapling the quilt batting, it's time to attach the finishing fabric.
The process is pretty much the same as attaching the quilted batting.
Simply cover up the headboards front facing panel with your fabric, and then flip it over to allow you to staple the fabric securely to the back.
If possible, have someone help out at this stage of the upholstering process.
Where there's areas where the quilting or fabric needs pulling tight, the staples can be removed quite easily and reset, although it's best to avoid this and hold everything firmly in the first place.
It will also ensure you end up with a neater finish.
6. Attaching Buttons
A popular design with headboards is to incorporate buttons for that classic, elegant look.
It's best to mark the headboard where the buttons are going to be attached to make sure they are positioned accurately and most importantly, spaced apart equally.
For best results, use a drill with a small sized drill bit to make the pilot holes.
Try to make the drill hole depths as consistent as possible.
Drilling may cause some foam to be left. This can easily be plucked out before continuing.
Then finally, the buttons can be attached tightly with drapery cord to the back or alternatively, attached with a strong glue.
7. Wall Mounting
There's various ways to mount a headboard, but with a cleat hanger things are a lot easier.
Simply attach one part to the wall and the other to the headboard.
If your walls are solid concrete, use suitable wall anchors and if your wall is a stud wall, locate the studs and attach using wood screws.
Then attach the other part of the cleat hanger to a suitable place at the back of the headboard, ensuring it will sit at the right height.
Screw the hanger to the back of the headboard using suitable wood screws and then hang your headboard into place!
8. Finishing Up
After you've mounted the headboard to the wall, sit back and marcel at your newly elegant bed arrangement.
And of course, try it out and make sure it's comfortable to lean against and practical to use.
You will be amazed at the huge difference a DIY upholstered headboard will make to a bedroom.
It's a relatively simple and cheap project to complete, and it's not going to take too long either.
The best news is, if you were to check how much it would cost to purchase an upholstered headboard and compare it with what you end up spending to make one yourself, the difference is huge.
So why not give it a go?
Order some plywood or MDF sheets, and make your own stunningly beautiful padded headboard.

