How to fit a kitchen island
Author Chigwell Building & Joinery
Date 05/04/18
Install a kitchen island yourself and transform the look of your home
Preparation
Before proceeding, make sure your floors are correctly prepared, are flat and free of debris or imperfections that may cause the kitchen units to sit unevenly or insecurely. Loose or creaking floorboards should be appropriately repaired and all concrete floors should be levelled as necessary.
Also check that no electrical cables or pipes run directly below where you intend to place your kitchen island, as drilling is necessary to fix your units to the floor therefore, you want to ensure you eliminate the chances of drilling or piercing any cables or pipes below.
Tools Required
As with any DIY project, you will need the appropriate tools to get the best finish possible, For this job, you’ll need:
- spirit level
- G-clamps
- electric drill and drill bits
- electric screwdriver or Phillips screwdriver
- duct tape
- screws
- L-brackets
Measuring Up
Assuming your kitchen base cabinets are fully assembled, work out the size and placement of your kitchen island in relation to the existing units. Most people like their island to sit adjacent to the kitchen units running along the longest wall, in a place that is convenient to the cooking and food preparation areas that offer plenty of room to move around. A gap of at least 1200mm is recommended on all sides to prevent the space between your units and the island being too cramped. Anything less and you might find your kitchen feels too small and awkward.
If however you’re confident that you have plenty of room to fit an island, then you are ready to get started.
Fitting the Island
Most kitchen islands are built using at least two kitchen base cabinets. You may use as many as you like to make your kitchen island as big as desired. But for the purpose of this tutorial, we will use just two units to keep things simple.
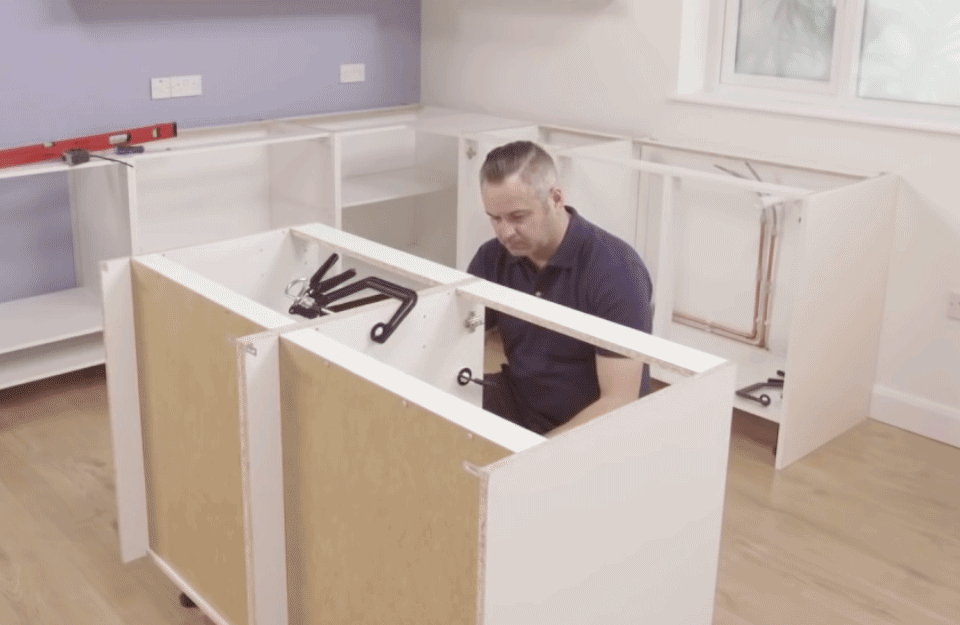
Firstly, place the two floor cabinets together where you want your kitchen island to be located. Then make sure they are level by placing a long spirit level across the top of the units and adjust the feet until you have them perfectly level where they stand. Once you’re satisfied they’re level, using a couple of G-clamps, clamp the two units to hold them firmly together so you can begin screwing them together as one permanent pairing.
To attach the two units together neatly, you can hide the screws by firstly removing the hinge plates. Once the hinge plate is removed, drill a pilot hold through one side of the unit to the other, ensuring you do not drill all the way through. Then attach the units together by inserting a screw and tighten with a Philips screwdriver. Reattach the hinge plate and then repeat this process with the other hinge plate.
It’s also recommended to attach the cabinets together towards the back as well to ensure strength and rigidity front to back. If suitable pre-drilled pilot holes do not already exist, drill a pilot hole at the back of the unit and attach a screw to hold the two units together. Your two units should now be firmly attached to each other.
Building the Outer Shell
Most kitchen islands have an outer shell to cover the back and side panels of the kitchen base units, giving them a professional finish. Usually, side panels and back panels are used to create a seamless, tidy finish.
Firstly, work out where you’ll attached your end panels to the floor by laying them out next to the cabinets. Then attach two L-shaped brackets to the base of the end panels, ensuring they are not positioned where they will be obstructed by the legs on the cabinet. Then rest your end panel into position where you want it fitted and attach it temporarily to the two kitchen base cabinets using a G-clamp. Repeat this process for the other side panel and then finally, place the back panel in between the two clamped side panels, ensuring all of the end panels have L-shaped brackets attached as necessary. Once you’re satisfied the panels are all neatly in position, grab some duct tape and stick them all together in place to prevent any movement.
Now, carefully slide your two kitchen base units away from the side and end panels, making sure not to knock or disturb them and put them out of the way for the time being. Now you should have access to screw your side and back panels to the floor through the previously attached L-brackets. It is recommended that each panel has at least two L-brackets attached to the floor for added strength and stability. The back panel however will most likely need at least four L-brackets screwed to the floor.
Finishing Up
Once your side panels are firmly affixed to the floor, carefully slide your two attached kitchen base cabinets back into the outer shell you have just attached to the floor and clamp together when in the correct position. Attach the cabinets to the rear of the shell, again using screws through L-brackets so that you create a single rigid frame.
To attach the cabinets to the side panels, drill pilot holes through the side of the kitchen cabinets from the inside, being careful not to drill all the way through. Then screw the cabinets to the side panel using screws.
Your kitchen island should now be in place ready to cut and attach the plinth as well as the doors, handles and kitchen worktop.
See It in Action
If you are still unsure how to follow these instructions, then watch the excellent video below created by Wickes for really helpful instructions on fitting kitchen wall cabinets.

